
Advanced L-sit, V-sit, Manna and Straddle L-sit Progressions
So you’ve mastered the L-sit? Well, who knew that was going to be only the beginning of your journey? Your choices are many!
Click on any of these to take you down to the relevant progressions:
- V-sit
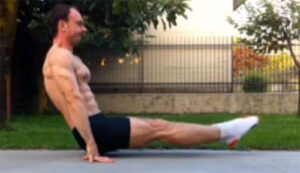
- Advanced L-sit (L-sit with hips ahead of hands)
- Compressed L-sit (L-sit with hips behind hands)
- L-sit Walks
- RTO L/V
- Weighted L/V/Manna
- Manna
- Straddle L-sit
Wait, but which one should I choose?
After I mastered the L-sit. I played around with all of these at one point or another.
- Originally I had chosen to focus on the V-sit because it follows the most natural progression continuing off from the L-sit. So it’s the most rewarding. Plus, I like how V-sits look, so I’d love to have a 90deg V one day.
- I tried the Advanced L-sit and found that I had zero ability to retract the shoulder blades and that it was monstrously difficult on the abs. A good exercise that I will definitely tackle in the future. It is a good stepping stone before going for the Manna progressions.
- The compressed L-sit is definitely a weak point for me and it’s going to build shoulder strength in the range that’s necessary to press from an L-sit to Handstand.
- The L-sit walks: My god, I really want to conquer this as well because it’s SO INSANELY DIFFICULT. I started doing tucked L-sit walks and they were extremely hard on my wrists. I got better at them but the wrist pressure was too much, so I’m going to train these later when my wrists are potentially stronger so it doesn’t interfere with handstand work as much hopefully down the line.
- RTO L-sit: The instability of the rings adds a whole new challenge. But if you have a strong 60sec RTO Support Hold already, you’ll get it really fast. RTO V-sit is an awesome challenge (try high tucked RTO L-sit!)
- Weighted L/V: I’ve used ankle weights a lot for my L-sit and it was very helpful for making it really easy to hold without them. I recommend this if you want to solidify your L-sit like a boss.
- Manna: I started practicing Middle Split Holds, and realized, I’m going to have to practice this move for the next year or two and probably be in the same position. And it’s not a fun position. So, I rather have a stronger base of support first before trying it, if I ever do, since it’s very difficult.
- Straddle-L: This move will feel impossible if you don’t have a wide straddle and chest to floor pancake spits to begin with. But if your flexibility is decent, go for it! It would be pretty epic to move and the starting component of a Stalder press (Straddle L press to handstand).
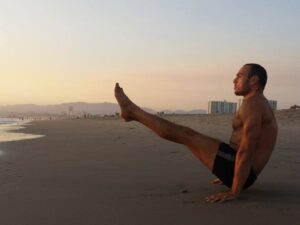
V-Sit Progressions
Prerequisite: Floor L-sit
Video: In the video below, Ryan of GMB demonstrates the progressions for attaining the V-sit and also presents a few different, advanced hand positions for you to try.
Below, I have outlined the progressions from the video and explain a bit more about how to improve your flexibility for improving your V-sit.
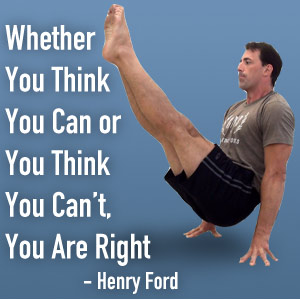
1. High tuck. This is a tucked V-sit. The difference between a tucked V-sit and tucked L-sit is that…
- You’re striving to bring your knees as high and close to your chest as possible.
- You’ll be leaning back a lot more in this high tuck and loading your triceps.
You will feel the long-head of your triceps working a lot more (maybe even cramping) to perform this. At first you may fall backwards, but you’ll get used to leaning back and bringing your knees up higher with practice.
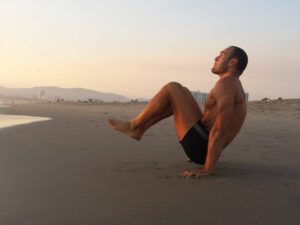
2. One-Legged V-sit. From the high tuck, extend just one leg the best you can. This is the progression that will build your active flexibility as you try to straighten/lock that knee out.
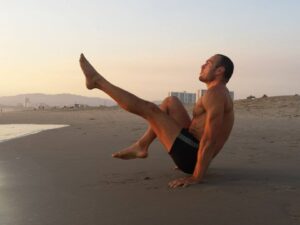
3. V-sit. The final step of course, is to do it with both legs extended.
Supplemental Dynamic Exercise for the V-sit:
- L-sit Lifts (3×8)
- L-sit Lifts with ankle weights
- Seated Leg Lifts (You could do 3×10-15sec/reps)
What about the flexibility aspect?
In the overcoming gravity charts, it lists V-sits starting from 45 degree and going all the way up to 170 degrees (that’s right, past vertical).
Hamstring flexibility (pike compression) is a great limiting factor for most people when it comes to the V-sit. It’s going to feel like it’s very difficult to build strength in a position that you can’t even get into. You could have all the strength in your abs, triceps, lats and shoulders but get nowhere past the L-sit if your pike stretch is poor. But the beautiful thing is these progressions will build active flexibility. Active flexibility is all about getting into your end range of motion (and exceeding it) under your own muscular power. It is a combination of strength and passive flexibility.
When mastering your L-sit, nice thing with the L-sit is that as you extend the legs out and your quads get stronger, they naturally stretch and lengthen the hamstrings at the same time. (The quads are, afterall, antagonistic to the hamstrings.) The same thing is happening during the V-sit progressions. The high tuck starts to challenge my shoulder flexibility and the one-legged v-sit starts challenging my hamstrings to lengthen. (I could barely lock out the knee of that raised leg when I started, so, I feel how the V-sit progressions themselves are going to build active flexibility.)
Now, it’s highly likely that the progressions are not enough and you’re going to have to loosen up your body to help. To increase your pike flexibility, I recommend you follow the stretches I have listed in my toe-touching routine.

I can easily touch my toes but can’t go beyond a 45° V-sit! What do I do to increase my active flexibility?
Instead of doing the piked, seated leg lifts dynamically, hold the compressed position for time. Make a goal of having your hands/fingertips eventually past your ankles.
To increase compression even further: Make a goal of doing the compression exercises on your forearms/elbows. Built up to it by practicing with the forearms on a stack of books and lowering down to the floor with time. Anywhere from 10-30 sec for 3-10 sets.
To increase difficultly even further: Do the above drill with your back against the wall.
Advanced L-sit Progressions
Prerequisite: Floor L-sit
L-sit Walk Progressions
Prerequisite: Floor L-sit and Forward/Reverse Ag Walks & Plank Walks
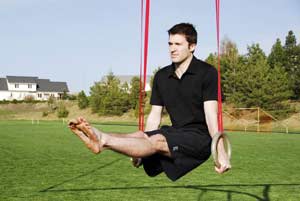
RTO L/V Progressions
Prerequisite: RTO Support Hold (minimum 30sec) and Floor L-sit (minimum 30 sec)
Take any exercise you have a decent hold time on, and wear an ankle weight (or heavy boots) for extra fuck you up. Start with just 1lb on each leg and increase 1lb at a time. Inspiration: Lucas Abner performing a V-sit with 12kg of ankle weights (6kg each leg!)
Weighted L/V/Manna
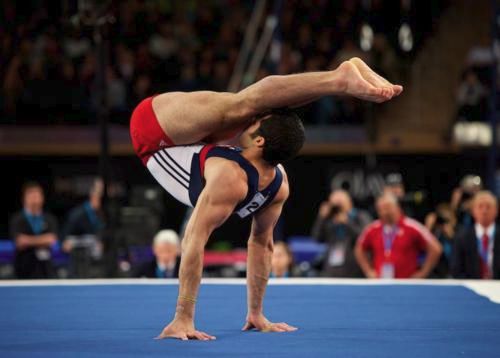
Manna Progressions
Prerequisite: Floor L-sit. (Although it’s technically not necessary to have a V-sit and/or Advanced L-sit, it wouldn’t hurt to have that stronger baseline of strength and flexibility.)
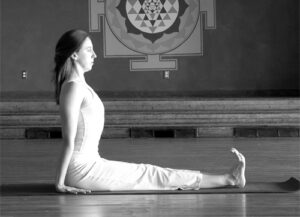
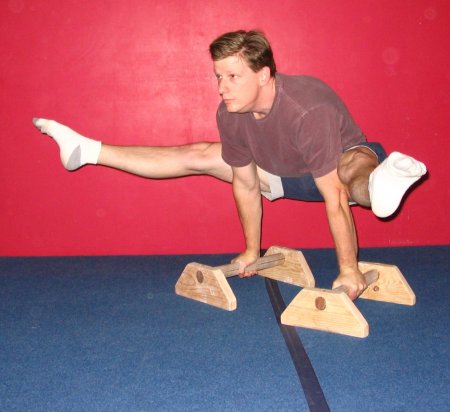
Straddle L-sit Progressions
Prerequisite: Floor L-sit and active flexibility in a wide straddle or pancake split. (I have included some active flexibility drills to help with that.)
Random Inspiration:
1 minute L-sit:
Manna to V-sit press to handstand
All of Lucas Abner’s youtube channel:

Let’s Connect
The best way to stay up to date with the latest content and videos is to sign up for my newsletter!