Before you begin, WARM UP!
If you’re on the rings and you hear popping, snapping, creaking, then you need to stop and warm up and stretch your arms more. I don’t mean static stretches, I mean dynamic stretches that involve movement to get the joints moving. Just hang from the rings, do some rows, some incline push ups, shoulder rolls, move your wrists around, you get the idea. I often do stretches on the grass area and many other exercises before tackling the traveling rings.
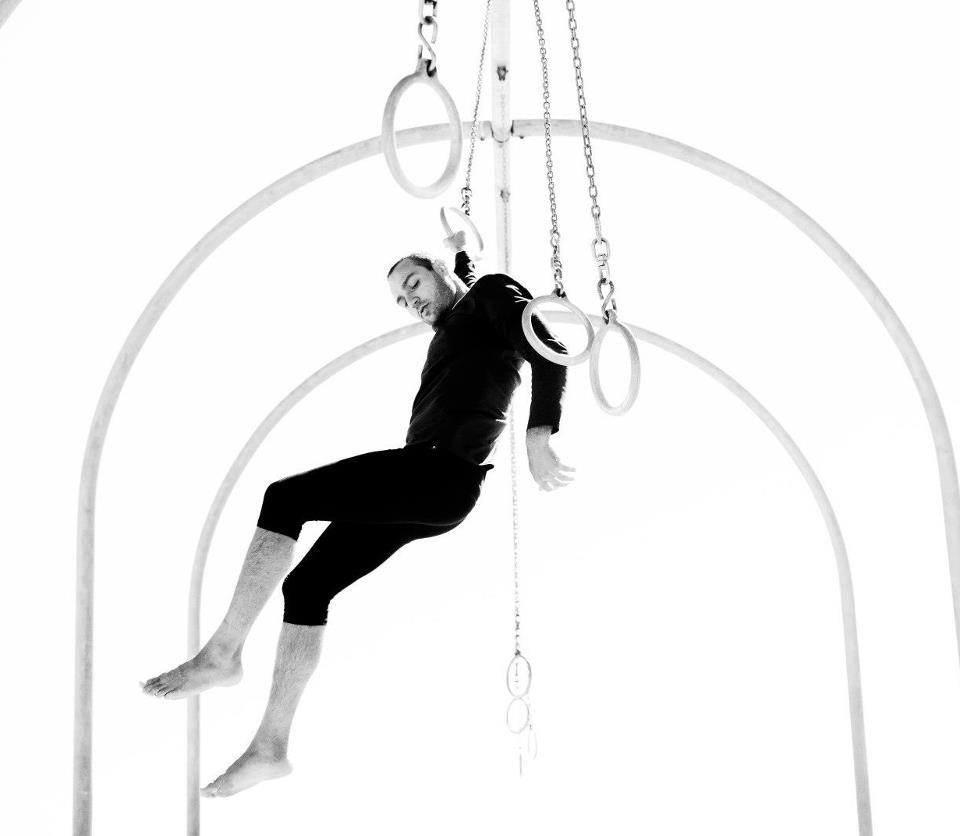
How to travel from one ring to another…
Put some chalk on and remember, if it’s your third round or more, you’re running into the danger of ripping and you should probably stop until your hand repairs itself. (This may take 2-5 days depending on how tough your hands are to begin with; mechanic hands vs massage therapist.)
Written details of the above video:
1) Grab the first ring firmly with your dominant hand and RUN to the next ring. It helps a lot to start with a lot of speed because the more speed you have, the easier it is to maintain that momentum.
2) Once you grab the next ring, PULL only your back arm down (ring #1), let go and you will fly to the next ring.
If you’re immediately losing speed even though you’re pulling, it’s very likely that you’re pulling both arms. The ring that initially grabs the ring stays straight. So in other words, one arm is always pulling while the other stays straight.
3) Now all you need to do is get your legs involved so they don’t hang like dead weight and your arms don’t have to do as much work. For someone just starting out, it’s easiest to simply bring both knees up to the chest like you’re doing a strong reverse ab crunch. This will help you make it down and back the rings (if grip strength is available).
So it’s this PULL AND TUCK motion that will get you flying. What you’re trying to do is lift yourself up so gravity will help you swing to the next one. You could do this by pulling up your arm, kicking your feet, lifting your hips up or all three! The point is, don’t let your legs just hang idly like dead weight. The more you throw your legs or hips up, the greater you’ll fly and lighten the load on your arm. Once you get this basic motion down, you can do way more than just bringing your knees up: You can practicing kicking your legs and/or using your hips.
For even more speed, hold ring #1 and run back and forth, kicking the sand each time so you get faster and faster so when you grab ring #2 you are starting with a lot of speed. Here’s my tutorial video on how to do that:
Tip #1: Look Through The Back Ring. When you’re pulling the back ring, look back and through that back ring. This will force you to…
- Pull hard enough that you could at least be able to bring that ring in front of your face.
- Face your palm toward you, which will engage more muscles and give you more control.
- Eventually, you’ll be able to pull that back ring down even further, all the way to your hips!
Tip #2: The Cross Pull. The cross pull opens up a whole new world as it changes the way you swing. In regards to health, it alleviates a ton of pressure off your shoulders. It will also change your swinging.
When you grab the ring in front of you, instead of grabbing it and leaving it there, immediately bring the ring closer to the back one. If you’re flying high enough, you’re essentially trying to bring the ring across your chest closer to the other ring you’re pulling. If you’re not flying high, the ring is going to be above you, so you’re simply bringing it closer to the back one.
Tip #3: Practice this drill. Here’s an exercise to get you to twist your hips and get your legs involved. (NOTE: We’re NOT going to travel down the rings for this exercise.)
Hold a ring in each hand and hang. Spread your legs apart and start making a circle with your feet for many seconds, twisting your hips and entire body. As you come back to center, kick your right leg to the left. Keep twisting and scissoring your hips and legs like this. You may notice that you could kick or twist one side with much more force than the other. Try to be ambidextrous. Then, you ADD A PULL to the twist and you could really feel how this will help you.
Here’s a magic trick: If you simply look up, and follow the center pole that the rings are hanging from, you will be very smooth and it’s a very interesting effect because it cuts out all the thinking. You can disconnect your mind from your surroundings this way and your legs and body will automatically do what they need to go that way. So try looking UP, glancing straight ahead only to catch the next ring.
In conclusion…
What I told you is just something to get you going. Whatever variations or modifications you want to do afterwards is totally up to you, so just PLAY PLAY PLAY! Just like dancing, everybody does this UNIQUELY and there is no right or wrong way as long as you’re not hurting yourself. If you see someone doing something awesome, just ask them afterwards how they built-up to that move and they will more often than not be VERY happy to help.
I’ll leave you with this video that is an absolute amazing show of creativity!
You may be wondering… where are the Traveling Rings?
- They can be found at the Original Muscle Beach in Santa Monica, CA. (where the video was filmed)
- They are also found in Riverside Park in NYC.
- There is a junior set at the Brown Street Park in Providence, Rhode Island
- And most recently, TWO new places have rings as well:
- Pearsall Park in San Antonio, Texas installed a new Traveling Rings set!
- The Virginia Beach Fitness Park just opened which replicates Muscle Beach and has its own traveling rings set (and climbing rope, bars etc)!
- And of course… many gymnasiums have traveling rings setup indoors as well. The outdoor rigs have 9-10 rings on them across but if you have access to a big gym where rings can be setup, even setting up just 3 or 4 rings in a row is plenty to have fun.
