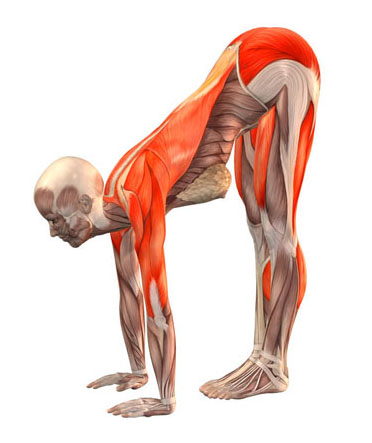
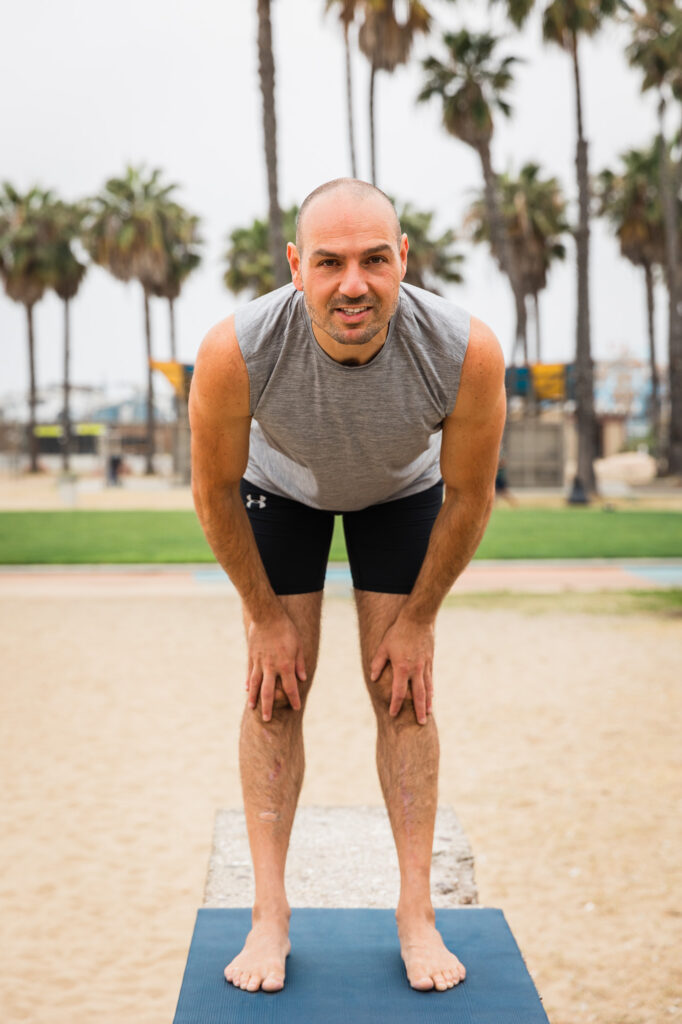
There are many ways to stretch the hamstrings or to touch your toes and I wanted to put all the guides that I approve of, all together in one place.
- If you can’t touch your toes, use any of the first three guides.
- If you want to go beyond touching your toes, take a look at Zack Finers guide.
- If you can palm the floor with straight legs, take a look at Emmet’s Head-To-Toe Tutorial.
- New: Added an advanced routine by Jagroop of MobilityWOD.
1. Antranik’s Toe Touching Routine
Click here to expand
This is my thorough guide and what sets this apart from the other guides is that you have many different stretches to choose from for different muscles so you could find what works for you and what you need to focus on. But the ones I have chosen are pretty awesome anyway so you can’t go wrong.
To see the full guide, click here: https://antranik.org/toe-touching-routine/
2. Front Folding by Emmet Louis
This is an effective, minimalistic routine if you want something that’s very simple with only 3 stretches to follow and they can be scaled to eventually be done loaded.
Click here to see the details
Emmet says it is extremely difficult to create a cookie cutter program for the masses because there may be many confounding issues going on, so if it doesn’t work after 3 months, you may want to look into other options.
The beauty of this routine is that the 3 exercises can be done with weight/load. However, don’t use any external load when you begin.
To be done 2-3x/week, takes about 45 minutes total:
- Calf Release
- Foot straight (1x90sec)
- Foot pointing 30deg inward (1x90sec)
- Foot pointing 30deg outward (1x90sec)
- Stride Stance Good Morning
- 3 sets x 10 reps with a 10-30sec isometric hold on final rep
- Go to 5 sets if no progress occurring over the weeks.
- Note: this looks like pyramid pose in yoga, but it’s not. Use the back foot only for balance to begin with.
- Jefferson Curl
- 3×10 with 10-30sec hold on final rep.
- Use the minimum amount of weight necessary.
- You should gain a bit of flexibility for every rep.
- If you’ve gotten zero progress in 4 weeks, this program may not be for you.
- You can post a form check on instagram and use hashtag #emmetlouis and he will respond.
- Some personal tips:
- I like to listen to music or watch videos during the boring 90sec calf stretches. The calf stretch can be intensified by simply holding a weight in your hand.
- The SSGM can be done with a broomstick on your back, and then eventually you could do it with a weighted-bar.
- Use the minimum amount of weight necessary for the Jefferson Curls.
3. Hacking your Hamstrings by Zack Finer
Compared to Emmet’s, this is not as simple and it requires the use of a band. The link to the full guide is here, on Zack’s website. What you see below is just an outline with the meat and potatoes. Choose the level appropriate for you and do it 3-5x/week for up to 6 weeks.
Level 1: I can hardly reach my knees in a pike stretch.
- Warm Up
- Two rounds of the following Banded Hamstring Stretches (GIFs below)
- 10 Supine, Straight Leg Kicks: Drive heel to the ground working against the tension of the band and kick back up.
- 10 Second Straight Leg Hold: Hold the high position while pulling on the band. Do not let the leg win.
- 20 Heel Drives: Pull hard as you bend/straighten knee! The idea is to momentarily hit a stretch that would otherwise be unbearable. You should always be able to lock your knee. If you can’t, back off just a bit.
- 10 Second Bent Leg Hold: Bend knee and pull band hard. Simultaneously try to push the bottom of your foot up and overhead. You should feel a deep stretch in your high hamstring.
- 10 Supine, Straight Leg Kicks: Same as first exercise, notice how much range of motion (ROM) you have gained.
- Recommended Band for this stuff
Level 2: I can almost touch my toes.
- Warm Up
- One round of the Banded Hamstring Stretches (from above)
- 10 Supine, Straight Leg Kicks
- 10sec Straight Leg Hold
- 20 Heel Drives
- 10sec Bent Leg Hold
- 10 Supine, Straight Leg Kicks
- Main Stretch: Single Leg Good Mornings
- 3 sets x 10 reps with 15sec holds on the final rep of each set.
- 90seconds rest between sets.
- Knee should remain locked out.
Level 3: I can touch the ground
- Main Stretches: Alternate sets / Pair these two exercises together:
- Finish with one round of the Banded Hamstring Stretches (from above)
- 10 Supine, Straight Leg Kicks
- 10sec Straight Leg Hold
- 20 Heel Drives
- 10sec Bent Leg Hold
- 10 Supine, Straight Leg Kicks
4. Head to Toe Dynamic Stretching
This head to toe progression allows you to gain epic hamstring flexibility in a very methodical manner but it is only for those who can meet the prerequisites already. This is a high frequency, ballistic stretching protocol that must be done 5 days a week minimum. The information comes from the following videos: ballistic stretching, head to toe stretching, and the H2T FAQ. It will stretch your entire posterior chain, from your heels up to your calves, hamstrings, glutes and your entire back. Anything that’s tight in preventing you from forward-bending will be under duress.
Before you begin, you must meet these prerequisites
- Palms flat in Standing Forward Fold. You must be able to bring your palms flat on the floor in front of your feet in a standing forward fold. Use any of the other guides to help you get there. (Btw, if you could do that easily, see if you could put your hands next to your feet. If you could do that easily, see if you could put your hands behind your feet. Or another way to do it, is to set your palms in front of your feet and see how much you could raise your heels and point your toes while remaining in that position, like I show here.)
- Build up to a Jefferson curl of 3-4 sets x 5 reps (10 preferably) with 25% of your bodyweight. So for example, if you’re 176lbs/80kg, you need to be able to eventually do 3×5-10reps of JCurls with 44lb/20kg. JC’s will mobilize and strengthen your back in preparation for all the pulsing that your back will need to endure.
Note: Cragdor, who has his own similar Head To Toe Ballistic program, doesn’t believe these prerequisites are necessary in their recent AMA on r/bwf. Now, with that said, his programming is not as strict or clear cut as Emmets. And Emmet could be more cut-throat in his programming BECAUSE he makes the prerequisites mandatory.
Personal thoughts: I think the Jefferson Curl is easy to get and should DEFINITELY be done to help bullet proof your back. (Also, I see people doing this exercise wrong often, so take a video of yourself and post it for a form check.) If you’re very close to having the palms flat and have the JC requirement, I would say it’s okay to begin as this h2t stretching immediately as it helped me to put my palms flat cold easily.
Programming (Calves+Pulses)
- A. 1x90sec Calf Stretch in 3 positions
- B. 3×72 H2T Pulses
- The goal is to do 3 sets of 72 pulses on each side, every day, for at least 5 days a week. At first, don’t worry about hitting 72 reps. Just try to get 3 sets of whatever you could muster, like say, 3x30pulses on each foot just so you get the feel for it. But eventually, you’re going to want to do all 72 pulses because that is what will help extend your limits.
- Fast Mode: 1×36 H2T Pulses in the AM
Setup for Elbow/Head to Toe
Emmet shows the setup in this part of the video.
- Prop right foot up on a block, brick, book, stair step, yoga block, sidewalk curb.
- Put right hand on your left shoulder and bring your right elbow toward your foot.
- The elbow probably won’t touch the foot (that’s why you’re reading this), but it will if you follow the following progressions.
The Calf Stretches
The easiest way to do this is by standing with the ball of your foot on some stair step and letting the heel drop down while holding onto a rail. I kill time by reading/watching stuff on my phone or listening to music.
- Calf Release
- Foot straight (1x90sec)
- Foot pointing 30deg inward (1x90sec)
- Foot pointing 30deg outward (1x90sec)
The Head to Toe Progressions
Before we bring our head to our foot, we need to be able to bring our elbow to our foot. Highly recommended you take a “Before” photo so you could see your progress!
- Phase 1: Elbow (of same side) to Foot
- Hang Loose
- Make the hang-loose symbol and put your pinky on your big toe and try to touch the thumb with your elbow. This is a regression I added.
- Fist + Thumb
- Fist + 1/2 Thumb
- Fist
- 4 fingers (knuckle of index finger)
- 3 fingers
- 2 fingers
- 1 fingers
- Elbow to Foot
- Phase 2: Elbow (of other side) to Foot
- Same sequence as above, except bringing contralateral (opposite) elbow to foot.
- Note: In my experience it was beneficial to start this progression concurrently with phase 1 by doing a set or two with the opposite elbow.
- Phase 3: Head to foot
- Same sequence as above, just this time, bringing the head to the foot.
- When you hit head to toe, you could start elevating your foot.
- You could also make a goal of going all the way to chin to foot, if you are that kind of person.
Auxiliary Fascial Release for the Calves
For the first couple weeks, every few days, roll your calves with a stick in the novel manner that kit laughlin shows you below. You can use a long dough-roller or a broomstick (ignoring “the broomy bit” -rudantu) so there is no excuse for you not being able to do this.
More Tips
- Keep the knee locked out as you do this but it’s fine to and recommended to bend the other leg. Try to use your deep hip flexors to “pull” your torso down.
- The range with which you move up and down at first may be long. But as you advance, you may find that you need to shorten the range within which you pulsate in so you stay close to the fist.
- For the first 20 reps, don’t try to push the limits hard. Just start everything gradually so you succeed with the rest.
- I find that pushing myself too fast, too soon backfires and makes me hurt so much it makes it hard to complete the reps. But if i just go to my edge and ride it, things open up eventually.
- Play your favorite music. This helps a lot.
- Don’t think about bring your head to your foot, instead think about bringing your FOOT to your FACE. And you could do that by pulling the calf with the other hand or put both hands on the sides of your feet or grab your toes and pull them to your face as you pulse.
Interesting side note: Since sharing this exercise with many people over the months and guiding them through it, i’ve found it takes about 20reps for most people to hit elbow to thumb if they do the hang-loose setup, but you have to encourage them cause if they don’t feel they can reach it in the first 5 bounces they are ready to give up and never do the exercise ever again. It’s so interesting how having a goal and actually making CONTACT (e.g., elbow to thumb+fist) with each pulse does wonders psychologically. Another interesting thing I learned from Emmet about H2T stretching is that it works the parallel elastic components of your soft tissues rather than the series elastic components.
Fair warning: This will be excruciating on both the physical and mental planes. Stretching hamstrings are definitely an ordeal. But you know what? At least with this methodical progression, you could measure your progress using your hand positions and know that you’re making progress and not doing something that you’re not sure is working or not, which is often the case with flexibility that tends to wax/wane so frequently.
“BUT I DONT HAVE THE DIMENSIONS FOR THIS! I have long legs and a short torso!”
Guess what. Both Emmet Louis and I have long legs relative to our torso, we do not have any advantageous dimensions and we’re both NOT naturally flexible to begin with. But with perseverance, Emmet got head to toe and I got elbow to toe and I’m maintaining there. So screw your excuses! You could do this! 🙂
5. Jagroop’s Class on Hamstrings
This is for more advanced trainees. Jagroop Sihota is part of Kelly Starrett’s MobilityWOD and says out of all the mobility classes he has done that this is probably the most intense both neurologically and tissue-wise.
Click here to expand
https://www.youtube.com/watch?v=eZB-mQB_dpw
I recommend you follow the video along with him as you do it the first time at least, then use the GIFs for a quick handy reference.
Requirements:
- Bands: The first exercise (and one of the latter ones) recommend two bands of significant resistance and a place to attach one of them.
- Prerequisite: One of the exercises are “Head-to-Toe” pulses, which are quite advanced. The previous section is dedicated to this and you should check if you have the recommended prerequisites, otherwise you may want to skip that particular exercise.
- Weight: The last exercise (weighted pike hang) requires some sort of weight but it can be done with any lightweight.
Exercises
- 20/side Supine (Laying) Nerve Glides
- Setup: Band attached to rig, across your hip joint, while laying down. 2nd band around bottom of your foot to facilitate flossing/gliding. Bring knee as close to your chest as you can while keeping your lower back in its natural arch off the ground (not flat).
- Movement: Start with the knee deep toward the chest. Don’t flatten the lower back, keep the normal lumbar curve (slight arch, that lengthens the hamstrings more). Straighten and bend the knee with the toes pulled back 20x. Hold the last rep, straighten the leg and pulse the ankle 5x (point/flex)
- On the final rep, hold leg straight, flex toes forward and back while pulling band (for a few seconds).
- 20/side, Couch Stretch Nerve Glides
-
- Setup: knee close to a wall, shine nearly vertical, foot against wall. Kick other leg out, get that leg straight as possible. Keep natural curve of back, pivot at hip and bend forward.
- Movement: Keeping the glutes of the back leg active the whole time as you straighten and bend the front leg 20x.
-
- You could move your torso laterally or medially as you do this to explore.
- You could rotate your thighs internally or externally to get change focus points.
- Pointing the toes while you straighten the front leg makes it harder.
- 3×50/side Dynamic Head-To-Toe Pulses
- Note: I recommend you have prereqs for this first (palms flat+25%bw jefferson curl 3x5reps)
- Setup: Stand and dorsiflex your front foot (toes up toward your face).
- Movement: Use the progression I provide you in the Head to Toe dedicated section. Make sure you choose a progression where the elbow or head makes contact with each pulse.
- Hold the final rep for 10sec.
- 10/side Modified Single Leg Good Mornings (Modified with floating leg remaining next to standing foot)
- Setup: Put one arm on lower back to help maintain normal curve. Lift one leg by an inch. (Or put both hands behind head)
- Movement: With a flat back, hinge at the hip and reach down with your other hand as far as you can without rounding the back, while balancing on 1 foot. Both legs must remain straight, don’t kick the other leg back. Slow and controlled. Hold final rep for 10 seconds.
- Passive 1 minute + Active 1 Minute Supine Stretch Hold
- Same setup as first exercise, except you hold the legs straight the entire time for a minute using the bands to hold it there (passive). Then, you release the band and try to hold it up for a minute (active).
- Weighted Pike Hang
- Stand on a box. Bend over in pike position, straight legs, and just hang. Let gravity pull down, or use a weight to pull you down. Hang for 1 minute. Bend knees to come out of the stretch.
- End with some myofascial release
- Kneel and put a sit on a barbell under your hamstrings.
- Sit on a lacrosse ball (video coming soon for this by me)
So there you have it folks. Five guides to help you touch your toes and beyond all in one place. If you rather just follow some sort of follow-along yoga video for half an hour to help get you more limber over all,
try mine here! All roads lead to Rome when you’re a beginner. Please leave a comment below with your feedback and thanks!


