

Building a new PC for video editing under a budget
A recurring theme in my life is that I have many ideas in my head that I want to “get out” but don’t have the means to do it fast enough. When I recently reflected upon 2015, I wrote about how I increased my efficiency and that I would benefit greatly from having an assistant, cameraman and video-editor. But for now, I’m doing things alone and removing my own bottlenecks are top priority.
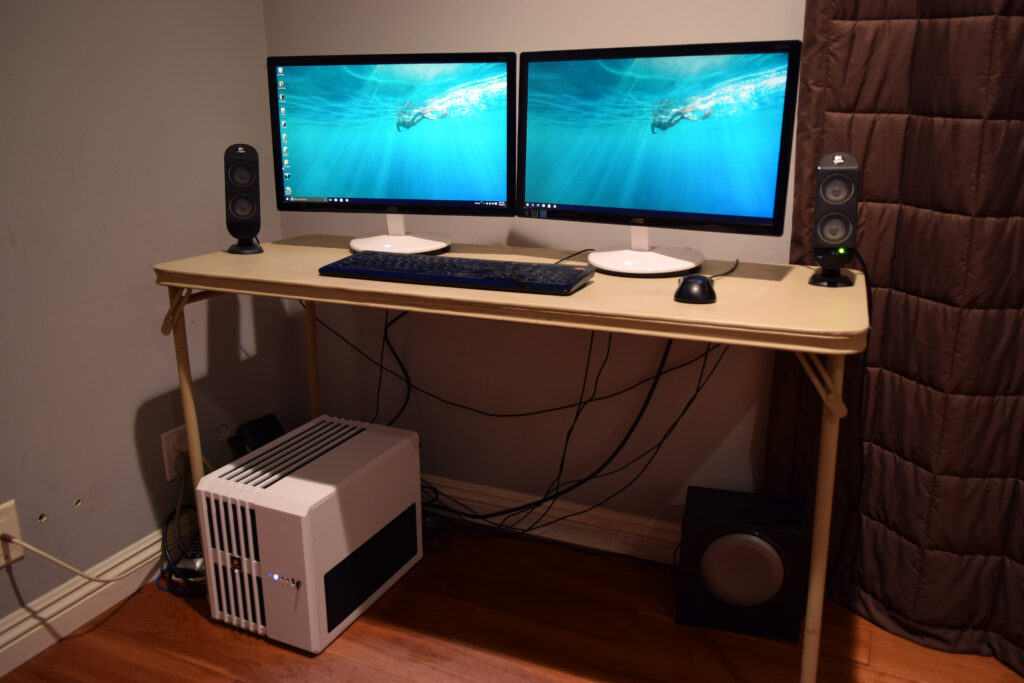
The greatest bottleneck lately has been my crumbling computer. For the past several years I’ve been using a computer with only 3GB RAM and AMD Athlon 2 and no video card. For blogging and browsing the internet it’s fine, but I never though I would end up doing so much video editing on it. I even edited my 35 minute yoga video for months on that shitty system. But at least I had dual monitors, right?

It was time to build a new PC, which I hadn’t done for a good decade. If you’re nerdy and enjoy putting things together, then building a PC are one of those things that will help you to save some money. I will admit that it is time consuming to research the parts and put one together and if you are very short on time it may not be worth the money saved. But, the benefits are that you get to create a much more powerful system for the money and you’ll know your parts so in case anything goes wrong you can deal with it. It will also be easier to upgrade in the future.
With the help of friends and suggestions from /r/buildaPC and chatrooms such as freenodes #reddit-buildapc and snoonets #bodyweightfitness, I was able to put some good stuff together fairly well and I wanted to share with you how I did it.
First, what kind of system do you want?
Where to begin?
Discussion about above parts
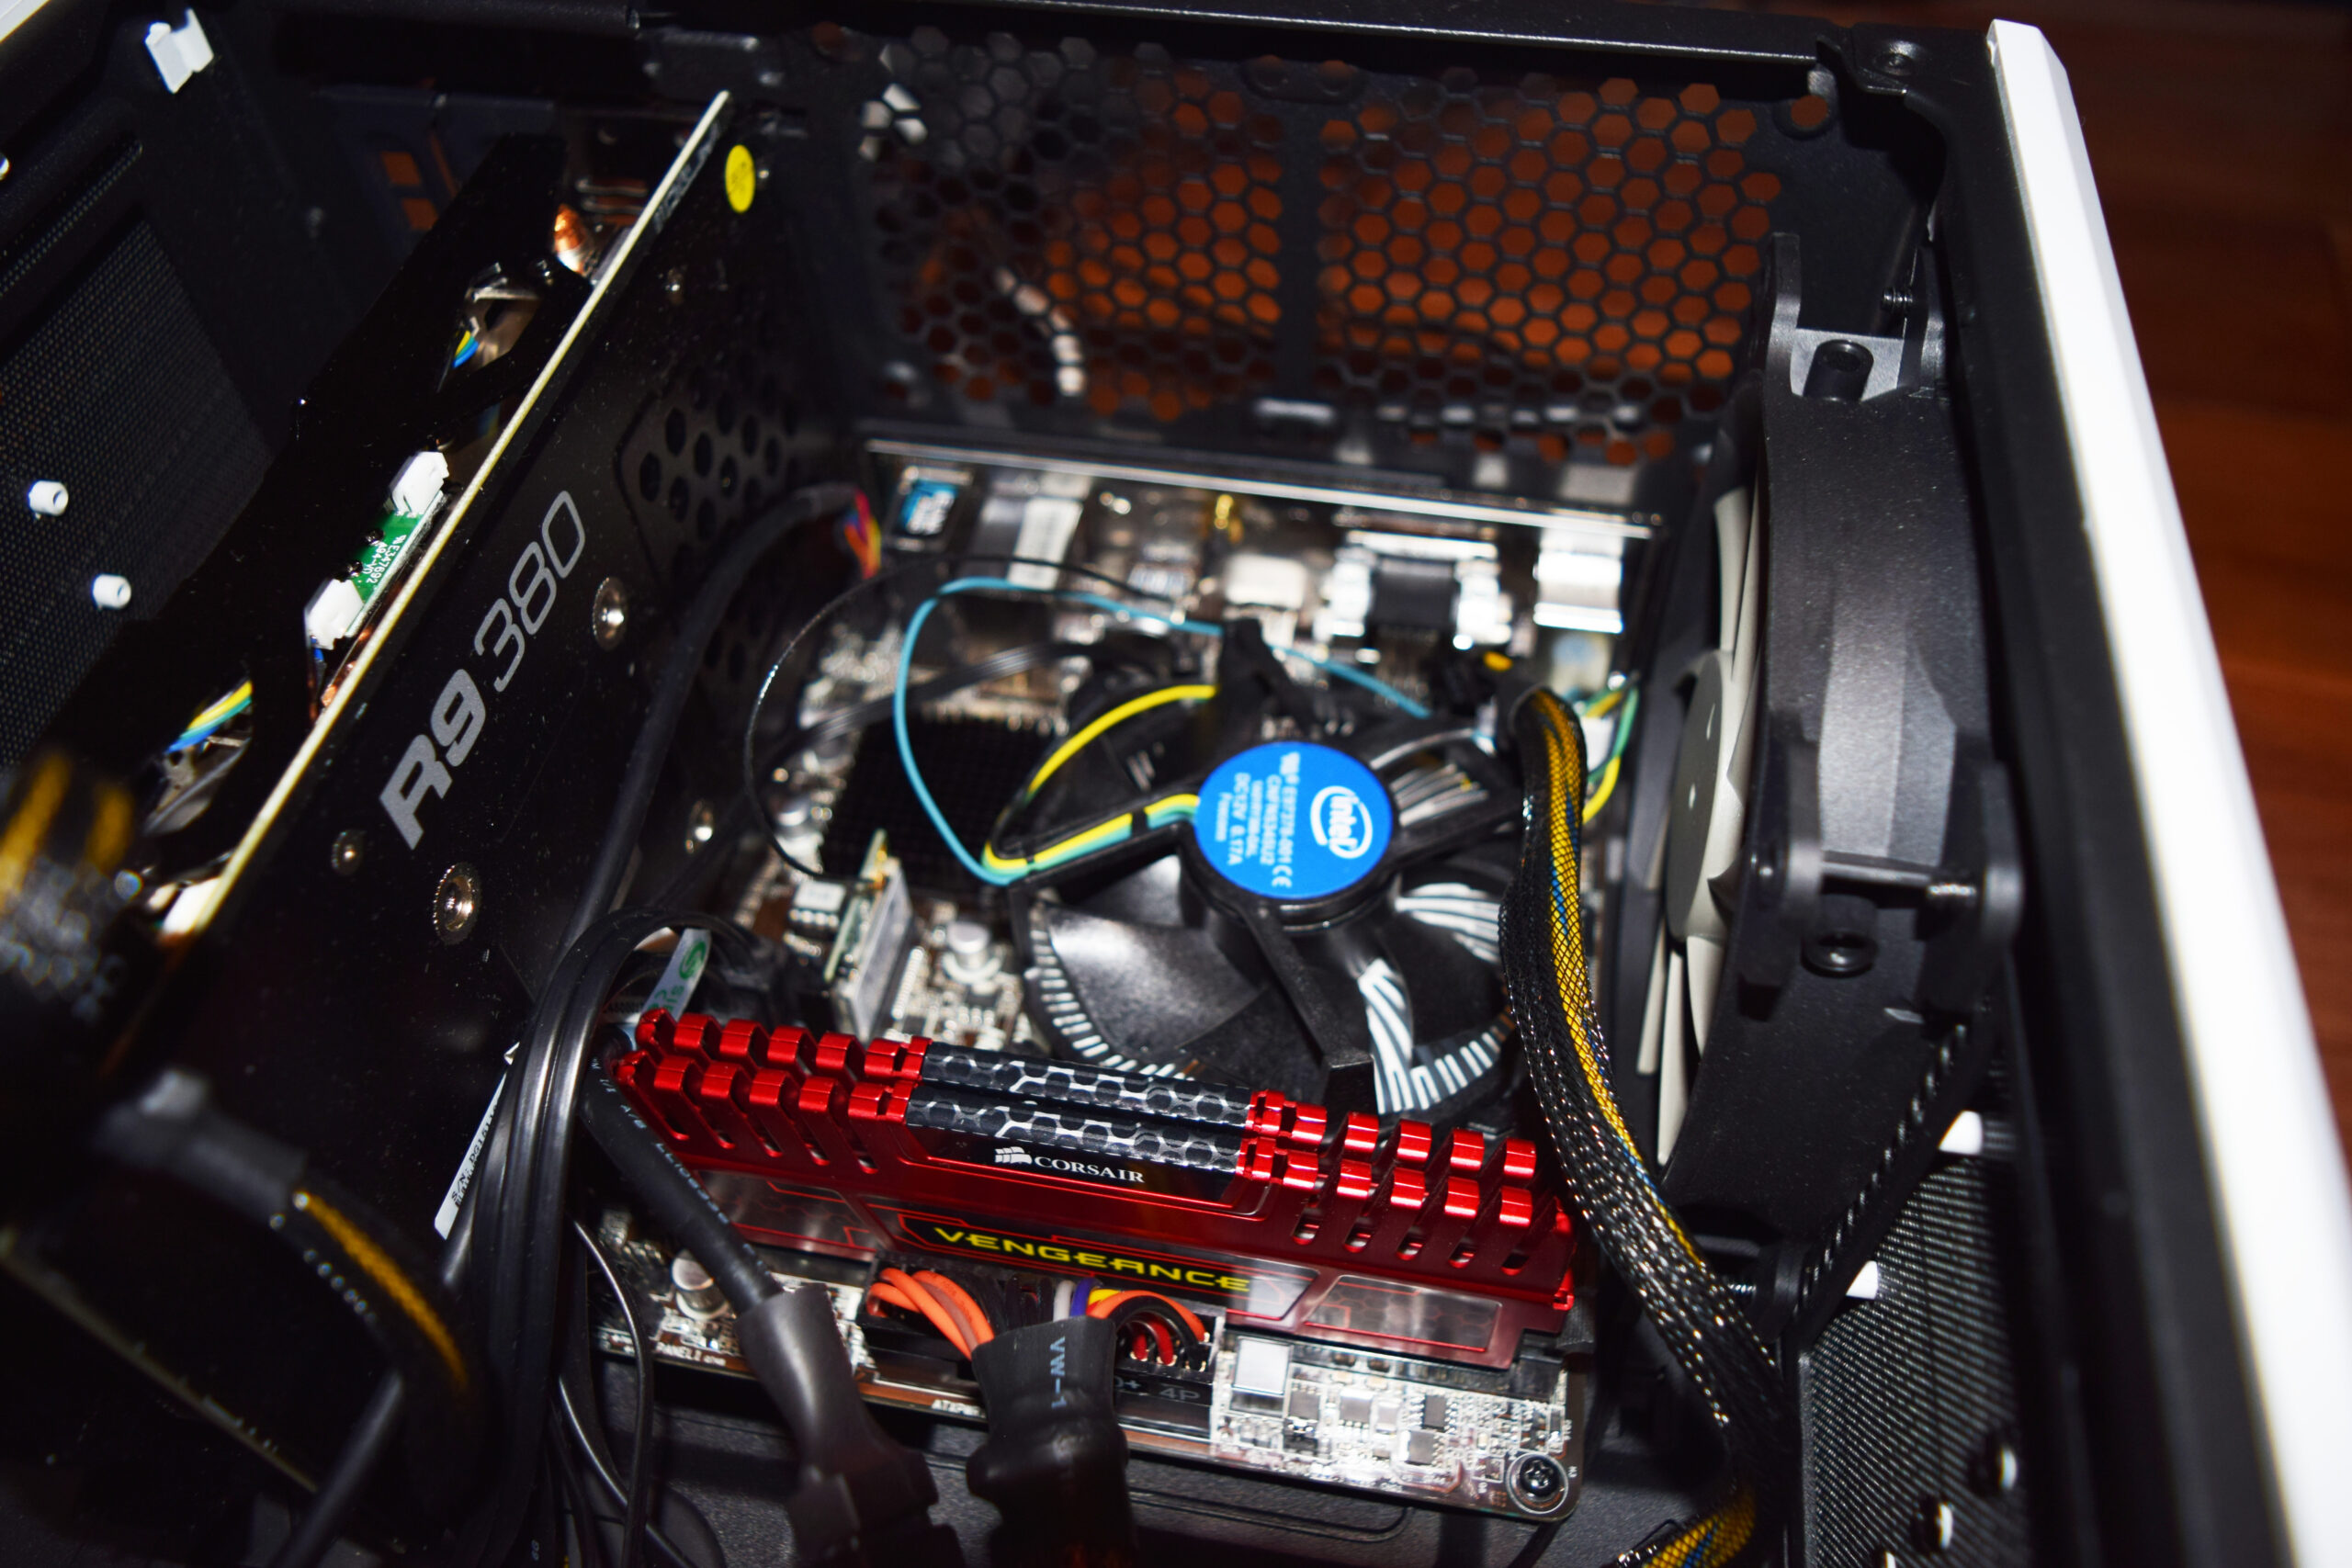
CPU: Everyone was recommending either an Intel i5 or i7 processor. I went with i5 because it’s about $100 cheaper. I figured it was enough since I was going to be getting a robust video card which was going to be the more important workhorse when working with video. I should just spend more money on the video card than the CPU since it was going ot be the workhorse and i5 should be plenty fast anyway if the other things were fast.
Motherboard: Most importantly you need to make sure the mobo is compatible with the CPU you’re choosing. Good news is also that PCPartPicker.com tells you if there are any incompatibilities with the products you’ve chosen.
I learned of these new form factors available these days for motherboards:
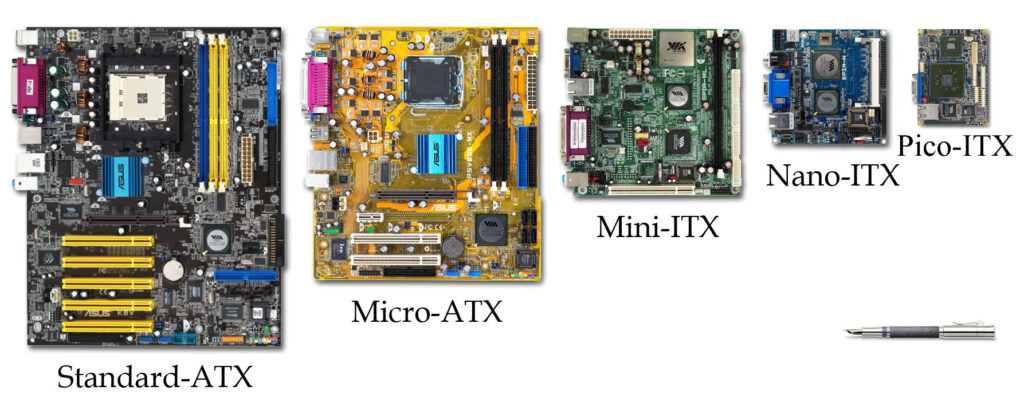
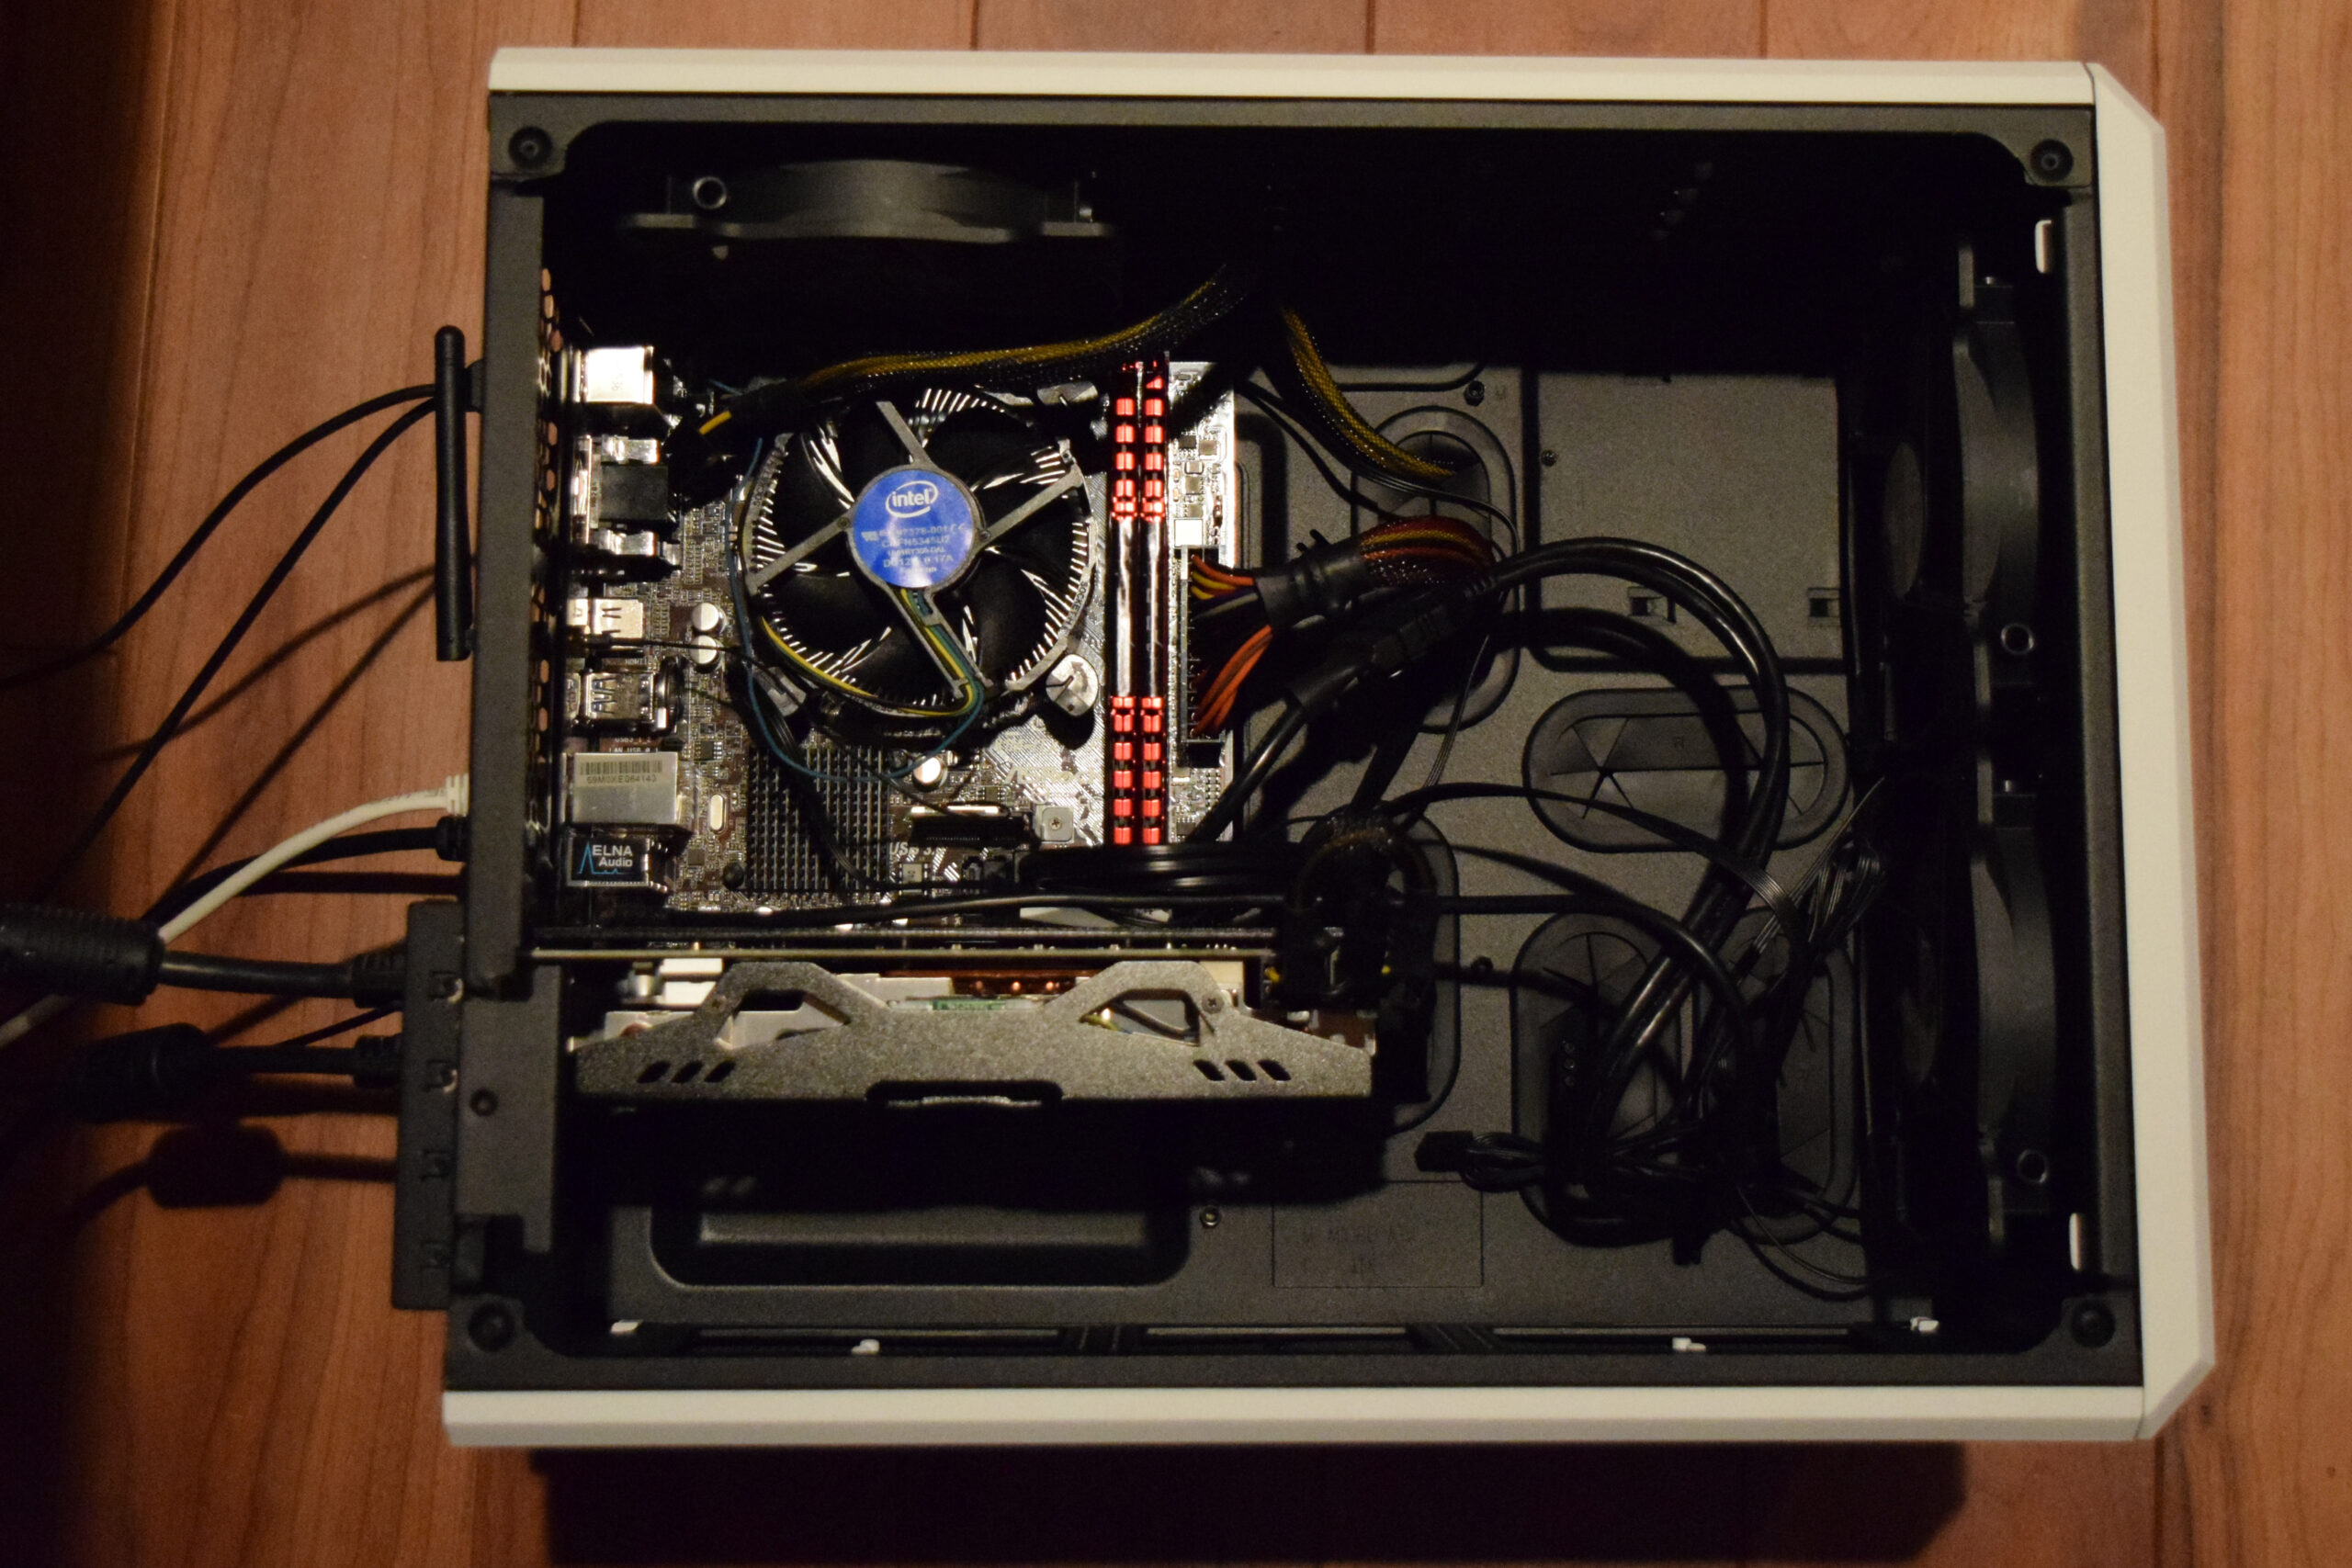
I was going to get a Micro-ATX mobo but instead chose the mini-ITX form factor because I like the extra compactness. Not that it makes a big difference considering the case I got was big enough for micro-ATX anyway, but in the future I may opt for a smaller, more efficient case if the cooling abilities were on-par. So, I got this mobo with WiFi but it also has a wired option built in. Only drawback on it is no USB 3.0 but for <$90, it’s great.
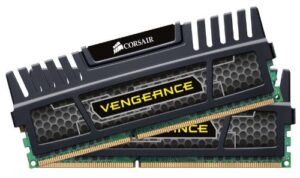
Memory: RAM was cheap enough that I should have no less than 16GB RAM. It only cost $80 for 16GB RAM, so that was a no-brainer. The more RAM you have for video editing, the better.
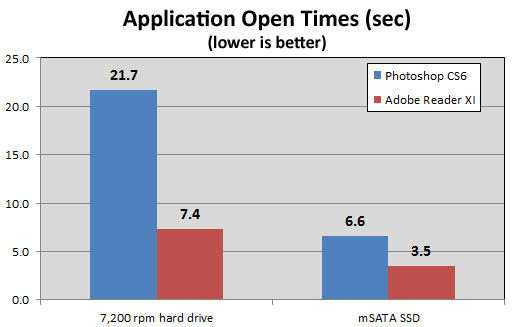
Storage: I wanted a SSD (Solid State Drive) because it’s faster than a regular hard drive, has no wear/tear due to no moving parts and no latency due to no spin-up. Side note: Speaking of no moving parts, my Asus Zenbook has absolutely no moving parts whatsoever (including no fan) which makes it super futuristic feeling.) But, SSD is still a very expensive type of storage, so I opted to have two drives:
Video Card: This was going to be one of the most important parts of the puzzle so I went with a Radeon R9 380 which is a very affordable card yet it’s modern, boasting 3.5 TFLOPs in performance with 4GB GDDR for ~$200. It was also at this point I found out that all modern video cards support dual monitors as a standard these days.

I also went with this card because it has AMD chipset and that works better with Sony Vegas Pro than NVIDIA cards because…
>Vegas Pro uses OpenCL for performing timeline GPU acceleration. Every render must first playback the timeline so this affects both editing and rendering performance. NVIDIA is pushing their proprietary CUDA technology. AMD only supports OpenCL (and OpenGL) so they make sure that their OpenCL implementation performs exceptionally well. NVIDIA also supports OpenCL but they don’t put a whole lot of effort into it because they want people to use CUDA. In benchmarks, AMD OpenCL beats NVIDIA OpenCL (not surprising). Therefore, AMD cards are better to use with Vegas Pro than NVIDIA cards. (Source)
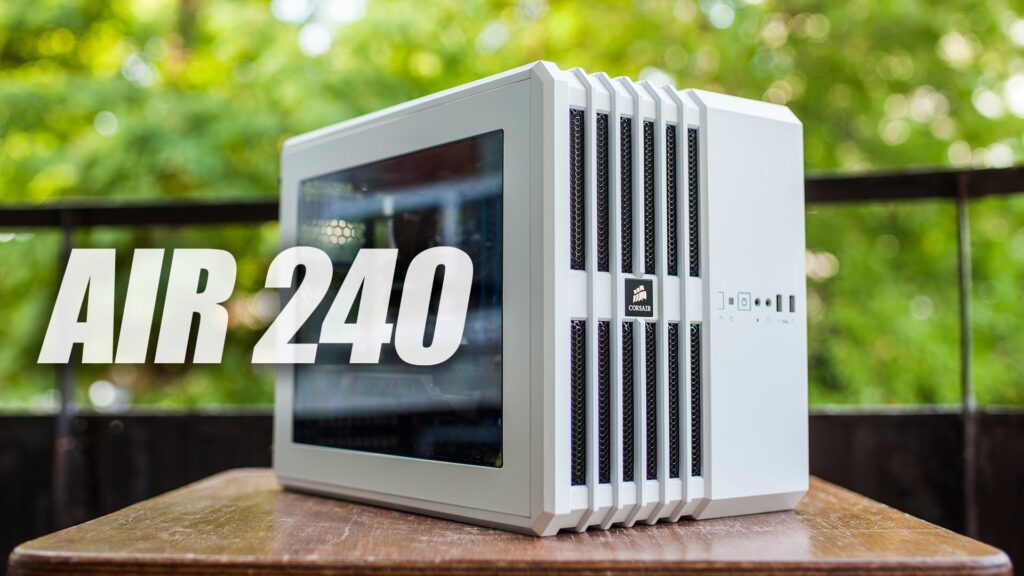
Case: This was a difficult thing to choose but I got a few leads which I’ll share with you. I didn’t want a large tower. I didn’t need CD/DVD drive bays because I don’t use that media anymore. Everything is either on phones, USB flash drives or SD cards. No more CD/DVD’s. Funny how that technology came and went and got replaced so fast!
In regards to Mini-ITX compatible cases, my choices were …
- I really liked the Cooler Master Elite 130 Mini ITX but it was out of stock.
- I was also eyeing the HAF Stacker 915R, but I didn’t end up choosing it.
- The winner was the Corsair AIR 240. This video review of it helped me like it.
- One day I may upgrade and go with one of these Dan AF-SFX cases which is extremely compact. But it costs $240 and it wont be released until Spring 2016 anyway and the compactness of it makes the air-flow of it highly questionable.
Power Supply: This is simple. Choose a well rated power supply that has enough power for your total system power. In my case, this 500watts PSU was enough. If you add all your parts on PCPartPicker it will tell you how much power the system uses on the top right. Or you could use this power supply calculator and find out. Mine used 352W so 500 was aplenty.
Monitors: I have two 22″ AOC monitors set side by side. I’ve been using for several years. At $100/pop, it’s no-brainer. Once you go dual monitors you’ll never go back to single. I’ve also heard that once you go triple you never go double. I believe that but I don’t have the desk space to do that.

Other things?
I already had a keyboard and mouse. I already had speakers. CPU Cooler? No I don’t need that cause the CPU already comes with its own fan. Also, the case comes with its own fans too. Almost everything went swimmingly. Except I ran into one problem:
- I realized the case provides USB 3.0 ports on the front panel but when I went to connect them to the motherboard, I found out the motherboard supports only USB 2.0. The 3.0 version has 19 pins but the 2.0 connection has only 9 pins. So I ordered this 3.0 to 2.0 adapter for $10 and problem solved.
- Another snafu was that this Air 240 case doesn’t have a way to directly insert SD cards. Luckily for me, I had a USB SD-card reader which also accepts MicroSD so that’s perfect.
How did I build it?
First, look over all the manuals and drawings to acquaint yourself with your product. That’s what I always do with every product on my own.
I used this YouTube video for putting the parts together as a loose guide. I paused/replayed the video in certain sections over and over because it runs through a lot of details that I had to hear again to make sure I was doing it right. Overall you just take it step by step: Begin with the motherboard. Install the RAM, CPU and graphics card onto the motherboard. Then install it into the case and install the power supply and the hard drives and connect the cables to the motherboard. If you need more help, check out this indepth guide with photos!
How did I install a fresh OS on the new system?

Using my old computer I did the following…
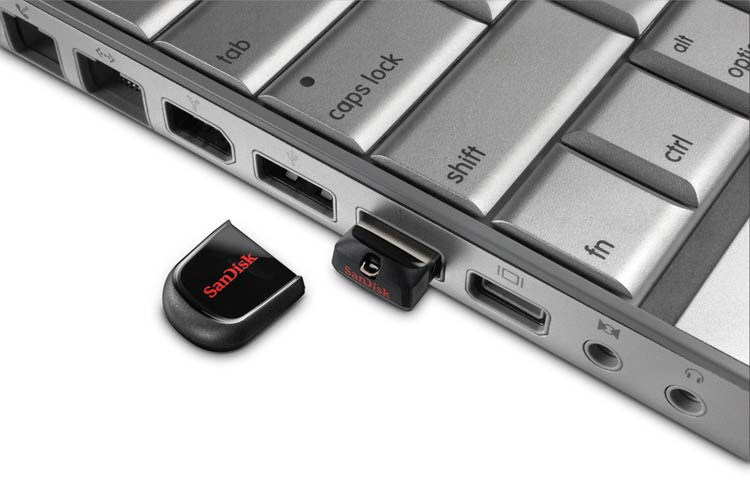
- First, get a 8GB USB pen-drive / flash drive because having a USB stick makes the whole process stupid-easy.
- Download Rufus.
- Download Windows 10 ISO using uTorrent or qBittorrent.
- Plug the pen drive in and use Rufus to make a bootable ISO using the ISO you just downloaded.
- Start up your new computer using the USB drive. If it doesn’t detect it, then press “del” when you first turn on the computer to get into the BIOS screen and set the USB drive to be the first to be shown.
Use Ninite.com to install many programs at once
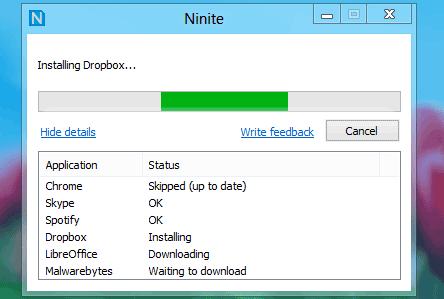
When you begin with a fresh install you have to reinstall many simple apps (like chrome, firefox, skype, iTunes, etc) but to save time just go to ninite.com, click all the apps you want and then download the program and it will download and update all the programs without you having to bicker with it! This can save you LOTS of time!
In conclusion
My new system is running flawlessly, so everything is GREAT. Better than great. Now I have one less bottleneck in my system of operations. And to celebrate, I’m publishing this as my first blog post using my new system! Now I can continue video editing and catch up to my backlog. Hope that was helpful for you and if you have any questions, leave a comment!

Let’s Connect
The best way to stay up to date with the latest content and videos is to sign up for my newsletter!