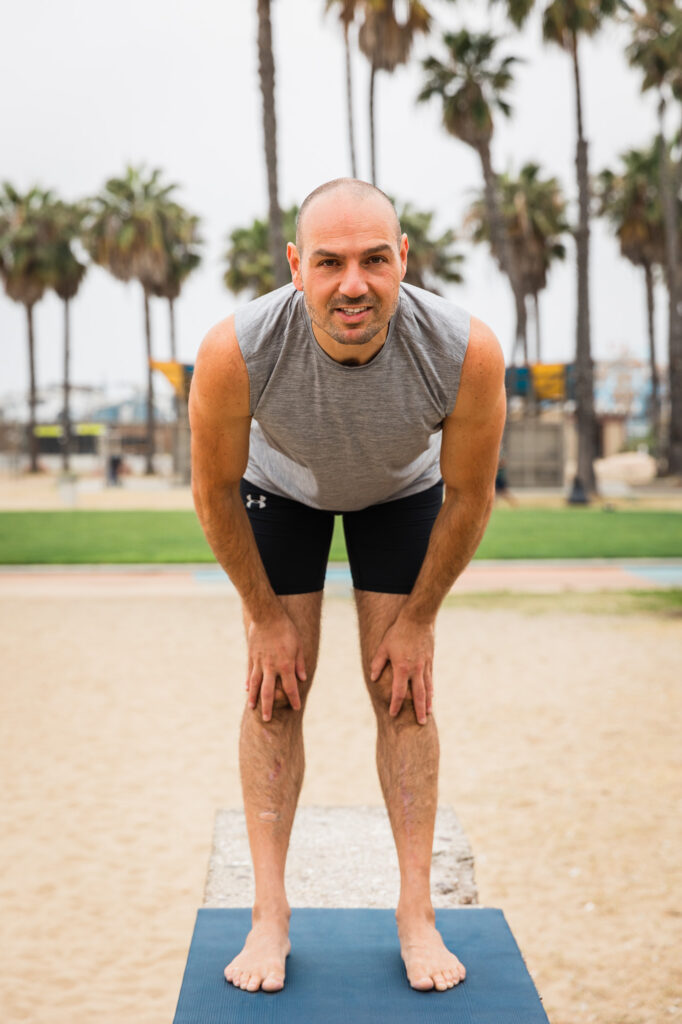
The Floreio Project
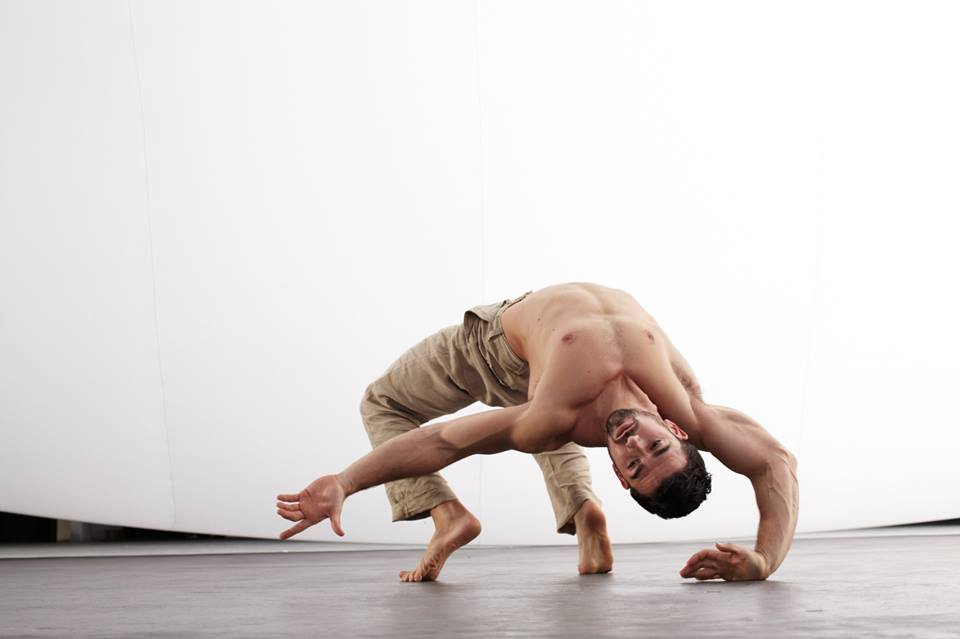
The one and only, Ido Portal.
When I first started trying to make sense of Ido Portals content, I found the information was in total disarray. In my quest to understand it all so that I could practice it myself, I ended up creating the most epic organization of Ido Portals routines, progressions and insights!
You will find the mobility work neatly laid out by body part, the 6 floreio movements (with their individual progressions and how to combine them), the hand-balancing drills, progressions for strength training every part of your body, and his blog posts, podcasts, facebook posts and older forum contributions neatly laid out in logical orders. This will help you move!
Note: If you're interested in strength and skill training on the rings and floor, I have created this rings-oriented program that combines my love for gymnastics strength training, flexibility and movements from this floreio project.
Basic Info/Intro
Ido a ‘movement specialist’ that has been inspiring the world to MOVE, get MOBILE and STRONG. He believes that one should master their own body with control before even trying to move heavy objects outside of oneself. Watch this video to get a better idea of what he preaches.
More info:
- Ido makes regular updates on his Facebook page.
- His original blog is idoportal.blogspot.com and his newer site is IdoPortal.com
- Read like an assassin: Read Ido’s every blog post, every facebook post, every comment, watch each video 10 times. I have even included a compilation of his best posts at the very bottom of this page.
- Remember to get off your ass! People spend more time reading about stretching/training when they should actually be moving!
How to use this page?
This is a general outline of how the workouts may go…
- Warm up (however way you wish)
- Mobility. This is of paramount importance.
- Hips/Legs
- Shoulders
- Wrists
- Ankles
- Skill Work: Choose ONE area to focus on for the day:
- Floreio movements at your level (e.g., Beginner variant), usually rotating circuit style
- Equilibre (Air Baby and Handstand)
- Locomotion (“Walking” in challenging ways)
- Strength work, resting adequately in between sets (or sometimes, rest in a squat!)
- Prehab: Good to do once a week at the end of your workout, basically do 2-3 runs of the mobility work.
I have organized this page and his videos according to this outline to best match the workout routines he has posted. If you have questions about particular moves, look for the “More Info” link that will take you to the relevant blog post with complete details.
Mobility
If there’s anything you do out on this page, do mobility work. We need to do it. All of us. That’s why I made GIF/HTML5 clips of them.
Click here for the Mobile/Printer Friendly Version
ProTip: If you do all the squat (or shoulder) mobility all in one go, it may be too tiring and you lose quality. To give your legs and shoulders a break, alternate between the four mobility sequences below. Start with squat clinic, then move onto shoulder rom/stabilization, then do squat clinic 2.0, then finish with scapular mobilization. That is the way Ido has ordered this stuff in his old routines.
A common question is “Does the squat clinic 2.0 supersede the original squat clinic?” No, it only adds to it.
- The first squat clinic is all about opening up the hips/legs/toes.
- The second squat clinic is all about mobilizing the spine to help improve the squat.
All the floreio work always starts/ends with a squat so you bet your ass you can’t skip this.
- Ido’s Squat Clinic 2.0: Do 10-30reps if dynamic or 10-30secs if static (per side)
-
- Knee Push aways (if possible, straighten elbow)
- Knee Push away (static hold)
- Sky reaches (if possible, extend range)
- Sky reach (static hold)
- Buddha prayers (extend range with fist to fist)
- Squat bows with thumbs up (extend range by fist to fist)
- Squat bow (static hold)
These require the use of a resistance band.
Tips: It’s impossible to recommend the ‘perfect’ band because everybody has different levels of strength and flexibility. So I recommend you just get a set like this that comes with multiple resistances and have handles, allowing you to do both arms at once.
Ido’s thoughts: “Thera Bands may be good, but test them first and make sure you get enough tension out of them. For me, even the stronger ones are a bit too easy, but it may be suitable for you.”
Therabands are amazing in quality. I particularly like the black theraband (black=”special heavy”) as it feels perfect for shoulder dislocates when you’re starting out and you could double them up. One step heavier than that (the silver one; “super heavy”) feels more effective for strengthening the rotator cuff. But again, these don’t have handles and it’s better you just buy that set so you are good for a long time. (An old/used bicycle tube, free at any bike shop, may work as well, but they don’t feel that great.)
- Basic Shoulder ROM and Stabilization Routine (More Info)
- Arms Overhead
-
- 10 forward and backwards, then hold the stretched position in the end for 10sec. (0:21)
-
- Arms in a T position with band behind
- Repeat the same protocol (0:39)
- 10 cw/ccw rotations
- 10 reps forward & back
- hold final stretch for 10sec
- Arms down with band behind:
- Repeat the same protocol (0:58)
- 10 cw/ccw rotations
- 10 reps forward & back
- hold final stretch for 10sec
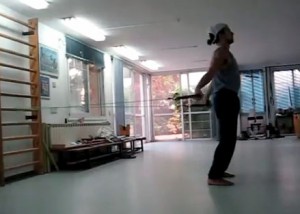
- It is IMPERATIVE that you warm up the wrists each and every time. I stress this because it is what has made wrist sprains a thing of the past.
- Ido’s recommended wrist warm up is here. However the video is not the easiest to follow.
- As an alternative, this video by GMB is a lot easier to follow and quite excellent:
- Finger Pulses
- Palm Pulses (Johnny Sapinoso doing handstand palm pulses)
- Side to Side Palm Rotations
- Front Facing Elbow Rotations
- Side to Side Wrist stretch (lean/push away)
- Rear Facing Wrist stretch – palms down
- Rear Facing Wrist stretch – palms up
- Rear Facing Elbow Rotations (star trek vulcan salute)
- Forward Facing, Lean Forward as much as possible
Extras:
- Wrist rocks (GIF!)
- Fingertip (knee) pushups
- Back of wrist (knee) pushups
I found this article by a student that had attended his workshop and shared the ankle series.
- 10 Heel Raises. On 10th rep, take 10 steps forward and 10 back while on toes.
- 10 Toe Raises. On 10th rep, take 10 steps forward and 10 back while on heels.
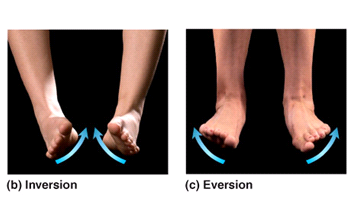
- 10 Inversions (lift inner arches to go on the lateral aspect 10x). Then, 10 steps forward/back on lateral aspect.
- 10 Eversions (roll onto medial aspect of foot 10x). Then, 10 steps forward/back on medial aspect.
To view the rest of this page, simply sign up! It's free and helps to keep this site sustainable! You'll be able to see the epic sections involving: the floreio movements, hand-balancing, locomotion, strength work and more! If you have signed up in the past for this (or any other program), use the login form directly below this registration form!
Let’s Connect
The best way to stay up to date with the latest content and videos is to sign up for my newsletter!


