Progression exercises for static / isometric holds
Many bodyweight exercises are often too difficult to simply start practicing the full version from the get go. Before you get to the final expression of the move, you will often have to practice easier variations, called progression exercises. In this article we’re going to explore all the ways you could modify static exercises. These include but are not limited to the front lever, back lever, planche and L-sit.
Progression exercises for static/isometric holds
As ones legs extend away from the body, the lever (that’s you!) becomes longer and your musculature has to work harder against the increased leverage. When you scale an exercise with the following progressions, you can focus on proper form and progress with a strong foundation while slowly leading up to the full version.
From easier to harder:
- Tuck
- Advanced Tuck
- One Leg Advanced Tuck / One Leg Half-Lay (helpful if you’re tall)
- One Leg Advanced Tuck / One Leg Full (“One-Legged”)
- Straddle
- Half-Layout (“Half Lay”)
- Full-Layout / Straight
Progression exercises applied to the front lever
As the legs extend away from the body ever so slowly, the intensity of the exercise increases exponentially.

If you find yourself comfortable with the advanced tuck but the one-legged FL is too difficult, try this progression…
Set one leg to be in an advanced tuck and instead of having the other leg completely straight, you bend the knee so it is in a half lay position. This will help bridge the gap between the advanced tuck and the one-legged FL.
Progression exercises applied to the back lever
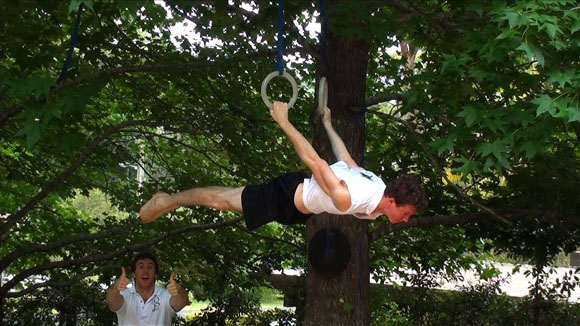
The photos below, demonstrated by Lachlan Walker, are from his excellent Back Lever tutorial.
Note: These progressions can be applied to MANY exercises. A tucked back lever is the same concept as a tucked front lever, tucked planche, or tucked L-sit. They are all just tucked, meaning the knees are brought toward the chest.
Tucked Back Lever
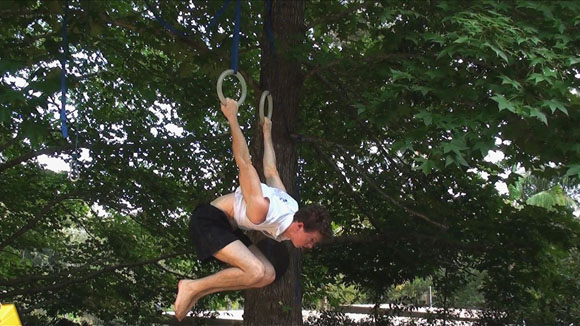
Advanced Tuck Back Lever
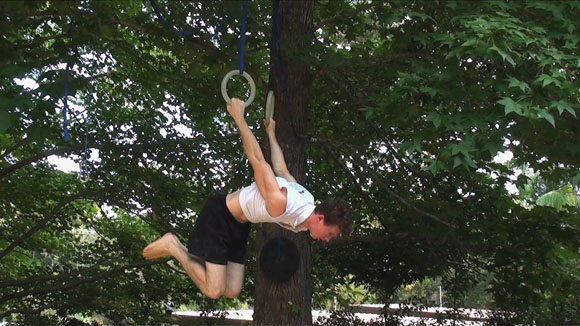
One Legged Back Lever
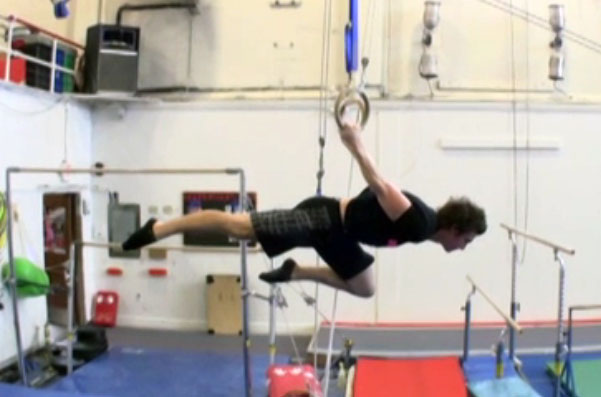
Straddled Back Lever
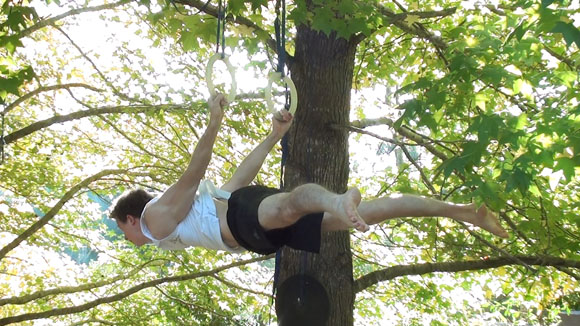
Half-Lay Back Lever
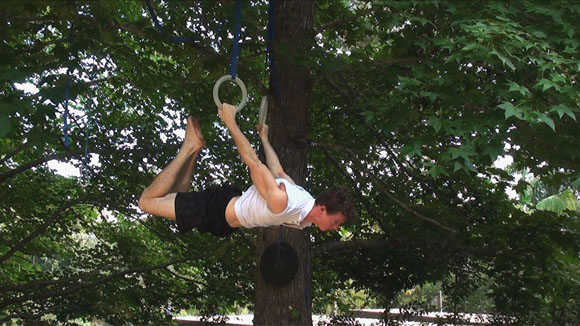
Full / Straight Back Lever

Progression exercises applied to the L-sit
In my L-sit video tutorial, once you get to the tucked L-sit, the concept is the same: As the legs extend away, the exercise becomes that much harder.

Progression exercises applied to the planche
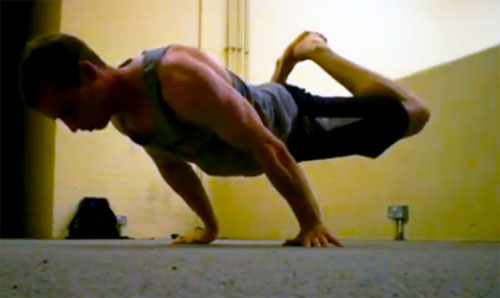
The difference between a tucked planche and an advanced tuck planche is simply the flattening of the back. This tiny difference greatly increases the intensity of the move so much so that it’s not uncommon for it to take several months to make the transition. Also note that as the legs are sent back, the shoulders must come more forward. The straight-armed FULL planche (not pictured) requires an enormous amount of shoulder and back strength.

This progression order is not set in stone!
Two different people can take two very different routes to get to the full/straight version:
Dancing Amy is very flexible and can almost do the splits: From the advanced tuck, Amy might be able to simply extend her legs into the straddle and avoid the knee-bent version all together. Then, from the straddled version, she may eventually get to the full version by bringing their legs closer together, avoiding the half-lay version as well.
Route taken: Tuck -> Advanced Tuck -> One-Knee Bent -> Straddle -> Half-Lay -> Full
Bodybuilder Bob doesn’t have a wide straddle: From the knee-bent version, he may skip the straddle all together and choose to work on the half-lay instead.
Route taken: Tuck -> Advanced Tuck -> One-Knee Bent -> Straddle -> Half-Lay -> Full
Neither route is superior or faster, they’re just different.
Just because Amy skipped two progressions, doesn’t mean she got to the full version faster. You can’t cheat your way into the final form by skipping steps. The wider ones straddle is, the easier the move will be and Amy simply capitalized on that. She simply brought her legs closer together until she could do it with legs together. Who knows, it could’ve taken her months to go from the straddled version to the full by going that route because there’s no set-position in between. Capiche?
The positions themselves aren’t set in stone either!
In actuality, one doesn’t typically go from a tucked position to an advanced tuck in one day. There are innumerable positions in between that you will undoubtedly have to spend some time in when working with challenging static holds.
Variations:
You could use your imagination to come up with combos of these progressions to vary the intensity or just play.
Now that you’ve understood the progressions, learn how to implement a Steady State Training Cycle for your static holds so you progress through them without injury since many of them are quite taxing on the joints.


