I’m [Finally] Starting to Compost

So for years I’ve wanted to grow my own food. I feel it’s a shame that we waste countless gallons of water everyday on grass and shrubs that don’t produce any food we can actually eat. Forget that idea of the perfect American lawn. That shit’s stupid. It would be much nicer if that water was going toward growing delicious fruits, vegetables and herbs. Especially for me, as I live in Southern California, where we have a very temperate, easy-going Mediterranean climate where we could grow just about anything without worrying about frost, flooding or tornadoes. We also don’t get a lot of rain naturally, so that makes it even more imperative for me to use my water wisely. As you can see below, I’ve effectively convinced my parents to plant drought-tolerant succulents with beautiful success.

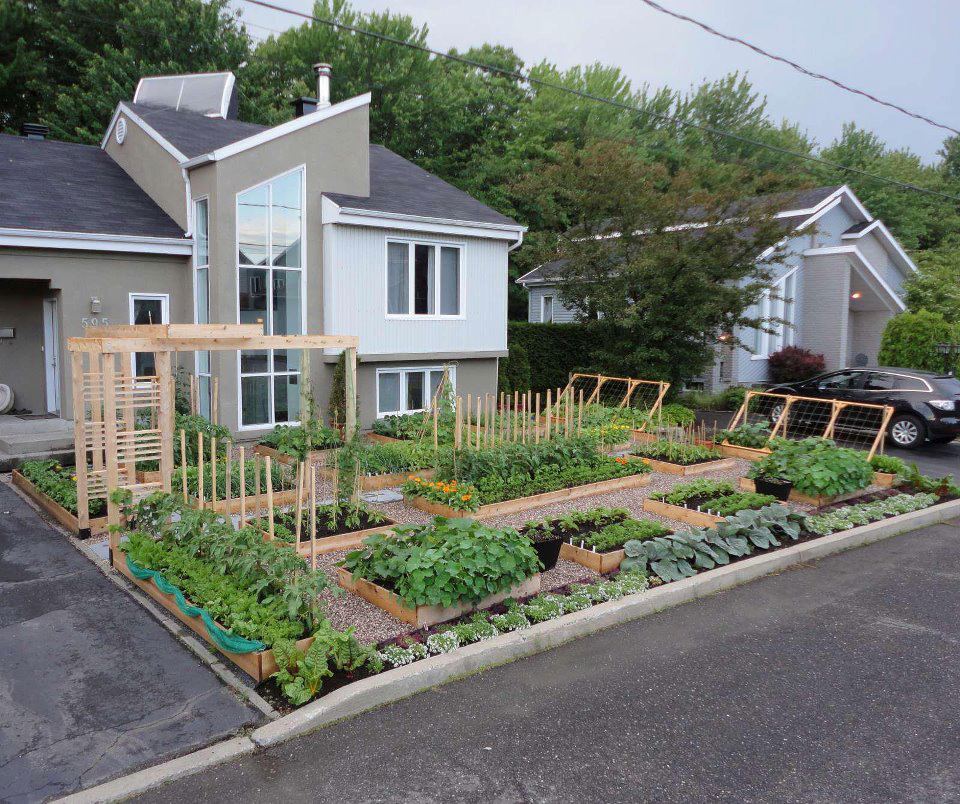
So today I kept thinking about what I need to do to start my own garden that produces my own food. I thought about making my own raised soil beds for growing vegetables in the backyard and planting fruit trees in the front yard. I thought about how I used to grow morning glory vines up a trellis cause they were beautiful and how I could do the same, but this time with beans or cucumbers because those are vines as well!

In between all these thoughts I’d tell myself that I need some great soil to do all this and that I should start composting. This is something I’ve felt I needed to do even before I thought about growing my own food because we throw away tons of food scraps and paper that could easily decompose into the most perfect nutrient-rich soil for plants.
So I decided that before I start any sort of garden, I need to make composting a part of my life and educate my family members in the home on how to go about it. Here’s the plan I setup and it’s been working marvelously. The great thing about all any of these setups geared for sustainability are that the hard part is just the initial effort and then afterwards it’s easy peasy.
Step 1: Add Trash Cans for “Greens” and “Browns”
 We initially had two bins in the kitchen: One for trash and one for recycling. You probably have a similar setup. You’re basically going to have to add two more because you have to save the “greens” and “browns” separately.
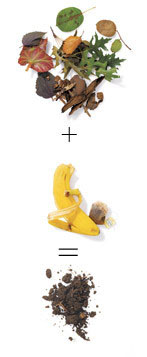
The “greens” are essentially all the wet, moist organic scraps such as banana peels, orange peels, carrot rinds, dead flowers, etc. The “browns” are everything paper-related (carbon!) such as napkins, paper towels, bills, newspaper, junk mail, thin cardboard, egg cartons, etc. Coincidentally, the “browns” are often many things that would have gone straight into the traditional recycling bin.
To compost properly, we need to have at least a 3:1 ratio of browns to greens, so for that reason I’ll be collecting them separately in the kitchen and then putting them into a compost heap with the proper ratio.
Long story short, I was ultimately going to need FOUR bins in my kitchen for waste.
- Greens (Mostly wet organic stuff)
- Browns (Mostly paper/carbon)
- Recycling (Glass, Plastic)
- Trash (Everything else)
To make this work, I took a trash bin from the garage that I rarely used and an extra one from one of the bathrooms and put them in an inconspicuous part of the kitchen.
Next, I made this list (update: I’m trying to find this file! will add link soon) and printed it out so that I and everyone else at home could refer to it until we get comfortable with understanding what’s okay and what’s not okay to put in the bins and where is appropriate.
I spent about five minutes educating my family on what these changes were for. I showed them the list and explained to them what greens and browns are. In the beginning they were kinda annoyed (cause people don’t like change) but they quickly realized there’s nothing difficult about this. I tested them at the end like a good teacher. I got a banana peel and asked them where it goes (answer: in the greens). Then I got a scrap piece of paper and asked where this goes (answer: not in the recycling, but in the browns). So that’s pretty easy.
As the greens fill up in the kitchen, I can’t dump them straight into the compost bin outside until I have the appropriate ratio (remember a 3:1 brown to green ratio). So I got two big potting containers and labeled them as greens and browns and put them outside. As the kitchen bins fill up, I take them out and put them in these containers. It turns out that there’s tons of “browns” in the form of dead-brush and leaves around my house I could use. So the limiting factor was waiting till there was enough greens (organic kitchen scraps) to combine the two.
Before I continue, look at how pretty the “greens” look…


Next, designate a spot for the compost.
There’s a lot of ways to go about this and it’s mostly just about aesthetics. Just know that you don’t have to spend any money if you didn’t want to. You could throw it in a pile if you wanted. If you want you could construct your own bin too, but it’s probably most efficient if you just buy a compost bin from Amazon or your local hardware store.


Directions: As your greens build up, you dump the greens in the bin, add three times the browns in there, and throw a small shovel of soil on top to introduce the natural microorganisms into the mix. Keep the lid open to not promote anaerobic activity (which smell fouls) and in a few months the bottom of that bin will be completely decomposed and be the finest soil in the neighborhood! It helps to aerate (introduce air) into the compost by rolling the bin around or sticking a pitch fork in there and moving stuff around as well.
After I got that going for me, I went to the local OSH (Orchard Hardware Supply) and bought a couple hundred earthworms for $12. I took some of the compost out, added the earthworms and then threw the compost back in. The worms will eat up the compost like mad and increase the rate at which the compost will be ready. Plus, they will double in numbers every 90 days. This is known as vermicomposting (as opposed to plain-jane composting). The difference with the worms is that you should lightly water the compost heap after you add your greens and browns so the worms don’t dry out and if where you live gets hot, try to keep the bin out of the direct sunlight so they don’t overheat and die out. You could also order these red wiggler worms online that are perfect for composting, but be careful about shipping in the summer months as the heat will probably kill them by the time they arrive.
So that’s that. It’s all setup. It only took a tiny bit of effort on my part and now the system will keep producing perfect soil for years to come. Next step is to create the raised beds to actually grow FOOD!


